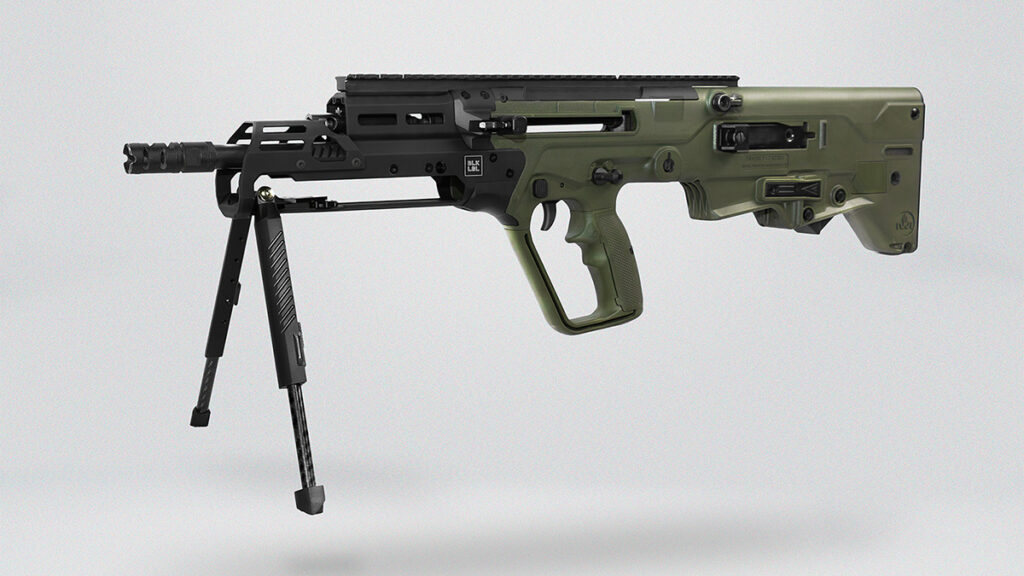
Integrated vs Rail-Mounted Bipods on the SIG Cross
Technical Resources
Share:
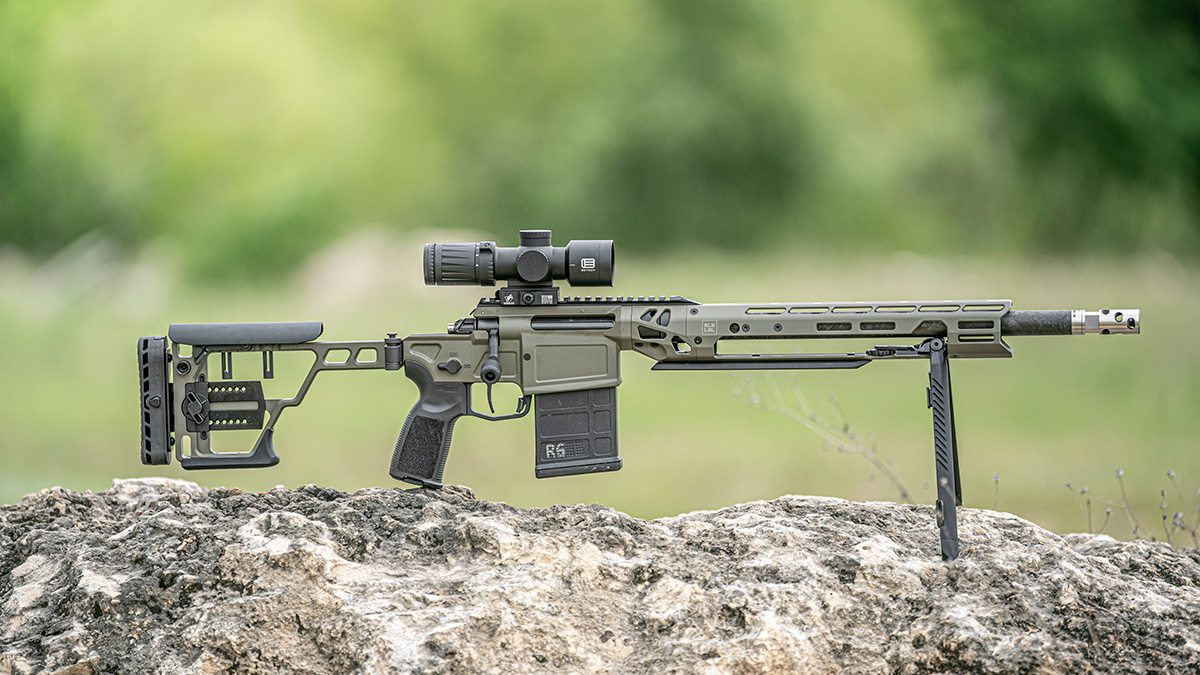
In This Guide: Comparing Integrated and Rail-Mounted Bipod Systems for the SIG Cross
Choosing the right bipod for your SIG Cross isn’t just about stability, it’s about how the system interacts with the rifle’s balance, recoil, and ergonomics. Integrated and rail-mounted bipods offer different experiences, and the difference can be noticeable in the field.
This guide breaks down the practical benefits of an integrated solution versus traditional rail-mounted bipods, helping shooters make an informed choice.
Rail-Mounted Bipods: What They Offer — and Where They Fall Short
Rail-mounted bipods attach to an existing handguard via Picatinny, M-LOK adapter, or proprietary mount. They are widely available, adjustable, and familiar to most shooters.
Advantages:
- Easy to swap between rifles
- Adjustable leg length
- Compatible with most handguards
Limitations on the SIG Cross:
- Adds weight forward of the center of gravity, especially when the legs are stowed forward
- Creates snag points under the rifle
- Cant axis is below the bore, affecting leveling and recoil predictability
- Interferes with M-LOK or accessory placement on some handguards
In short, rail-mounted bipods are functional but not optimized for the SIG Cross’s lightweight precision platform.
Integrated Bipods: Engineered for the Rifle
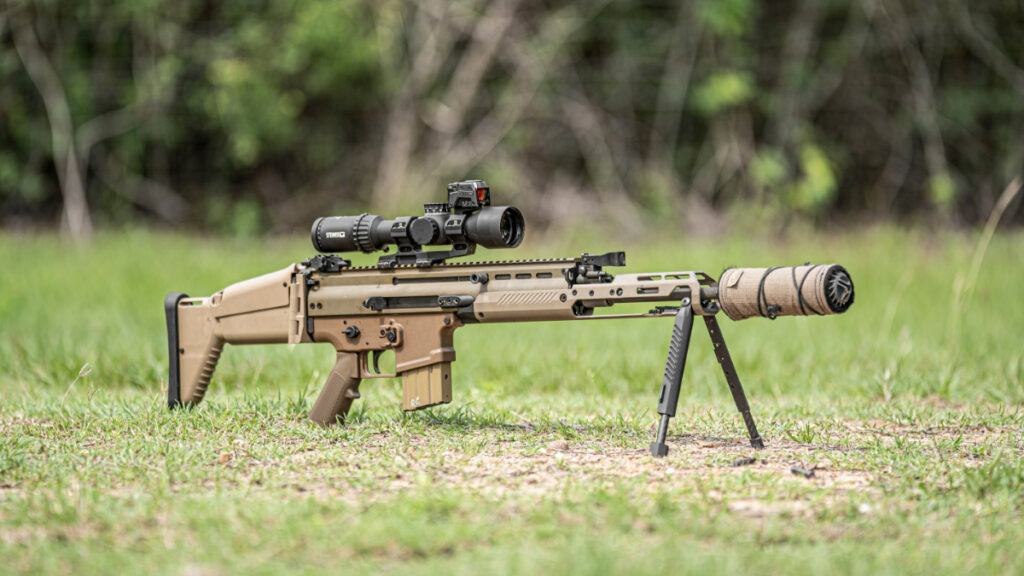
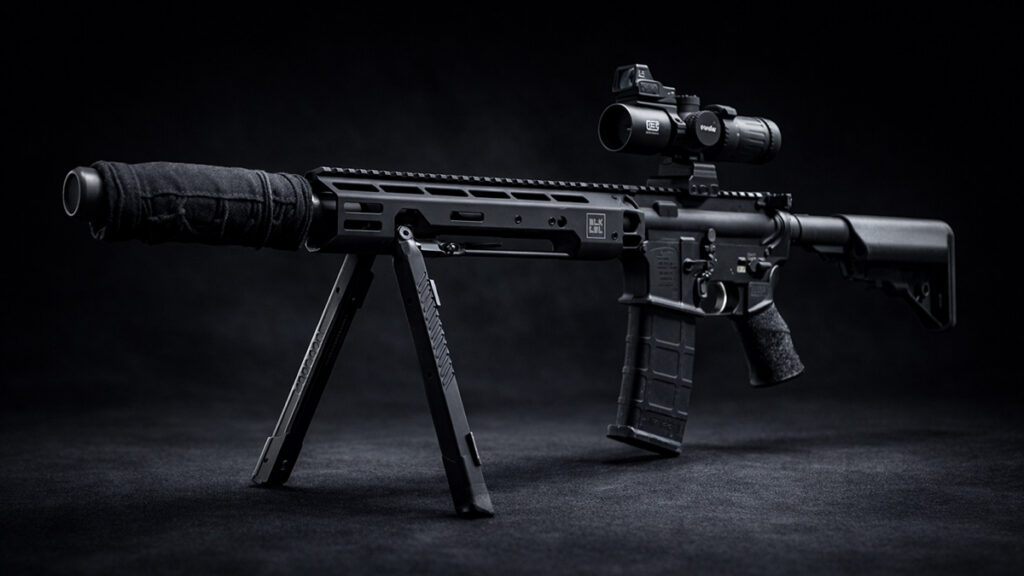
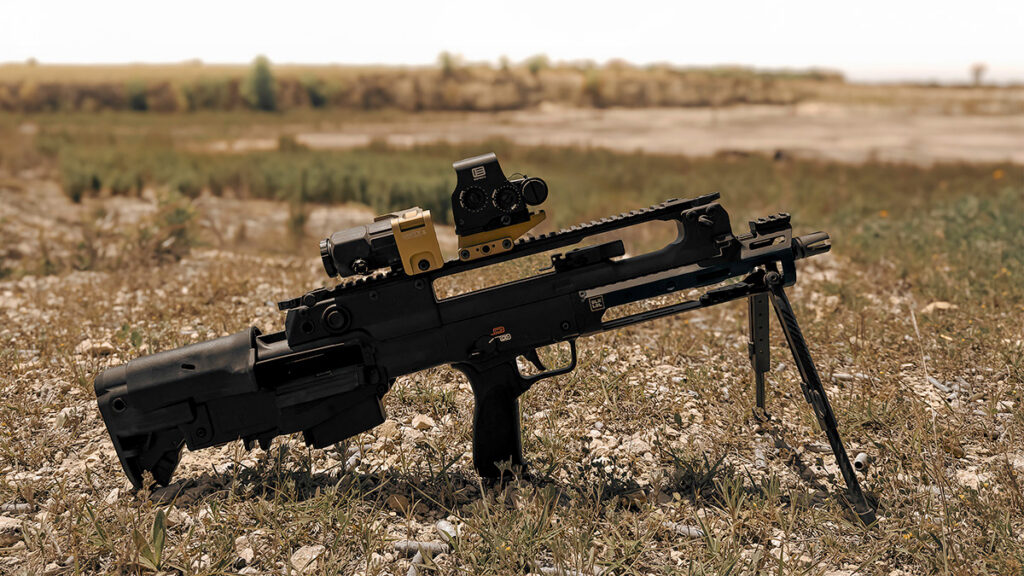
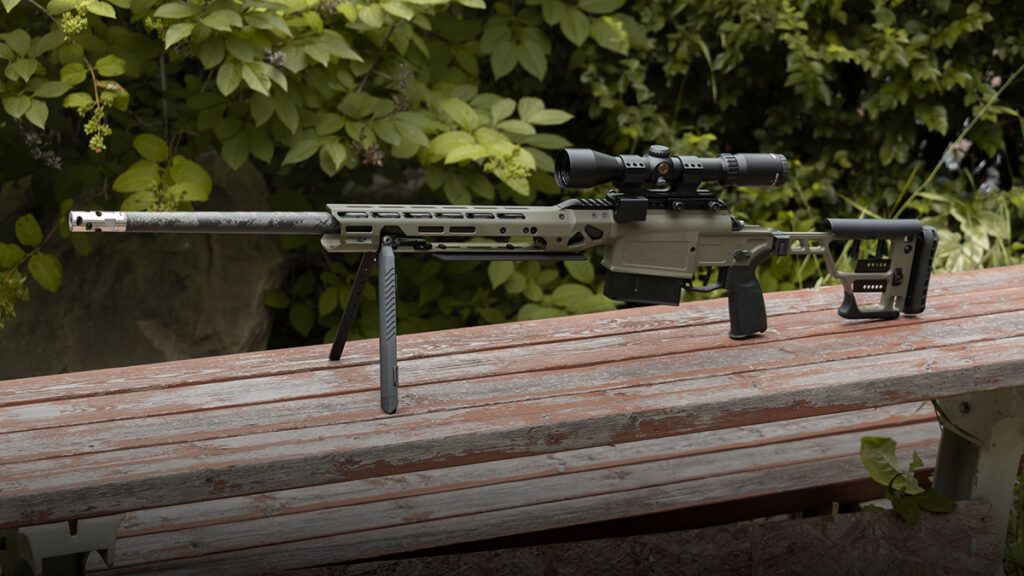
An integrated bipod, like the BLK LBL SIG Cross Bipod, is built as part of the handguard itself. This means every movement, weight, and pivot point is engineered around the rifle’s design.
Key Benefits:
- Center-Bore Cant: Up to 30° of cant aligned with the bore for natural leveling and consistent recoil
- Flush-Folding Design: Deploys instantly; folds completely into the handguard when not in use
- Balanced Weight Distribution: Maintains the SIG Cross’s handling characteristics
- No Snag Hazards: Clean profile for movement in tight spaces and when the rifle is slung
- Accessory-Friendly: Full M-LOK compatibility without interference from bipod mounts
Integrated designs transform the rifle from “good enough” to a system engineered for precision shooting in real-world scenarios.
Real-World Impact: Handling & Stability
Rail-Mounted Bipod:
- Extra forward weight can make transitions slower
- Snag points may hinder movement through natural cover and tight spaces
- Cant below the bore can shift point-of-impact due to increased leverage
BLK LBL Integrated Bipod:
- Balanced front-to-back weight for natural carry and sling transitions
- Deploys without needing to press any button or releases
- Predictable recoil path, even on uneven terrain
- Smooth interface with barricades, packs, or improvised rests
The difference is subtle on paper but immediately noticeable behind the rifle.
Installation & Ergonomics
Rail-Mounted: Requires adapters or mounts, often adding bulk and potential wobble. Installation of the rail mounted bipod adds weight to the front of the rifle. On short handguards the bipod will take up valuable space needed for your offhand.
Integrated: Replaces the factory handguard with a drop-in system using factory screws and top rail. No compromise to ergonomics, balance, or accessory placement.
Takeaway
For SIG Cross shooters who demand precision, reliability, and clean ergonomics, integrated bipods outperform traditional rail-mounted solutions:
- Better leveling and recoil predictability
- Cleaner, snag-free profile
- Optimized weight and balance
- Seamless accessory compatibility
Integrated isn’t just an alternative, it’s a purposeful upgrade for your rifle.
See our SIG Cross Pillar Overview for full specifications, performance breakdowns, and supporting technical resources.